assembly Instructions
Step 1
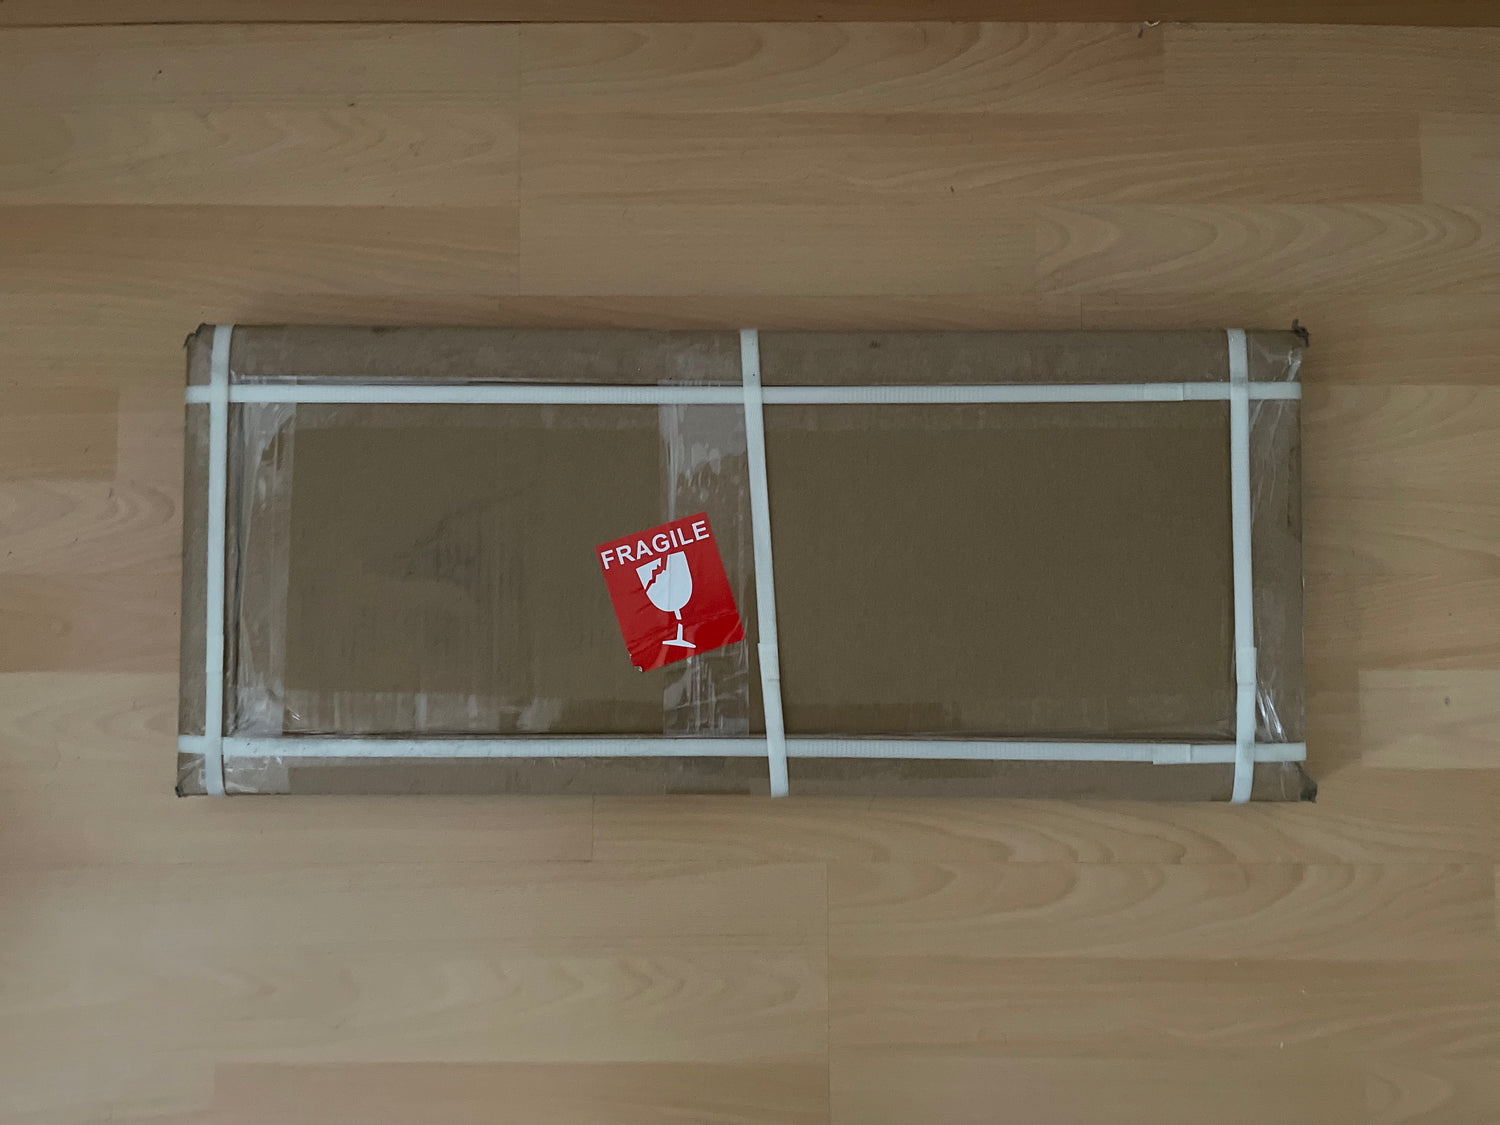
After the package has been delivered to you, please place it gently on the floor and check carefully whether it has been damaged during transport.
step 2
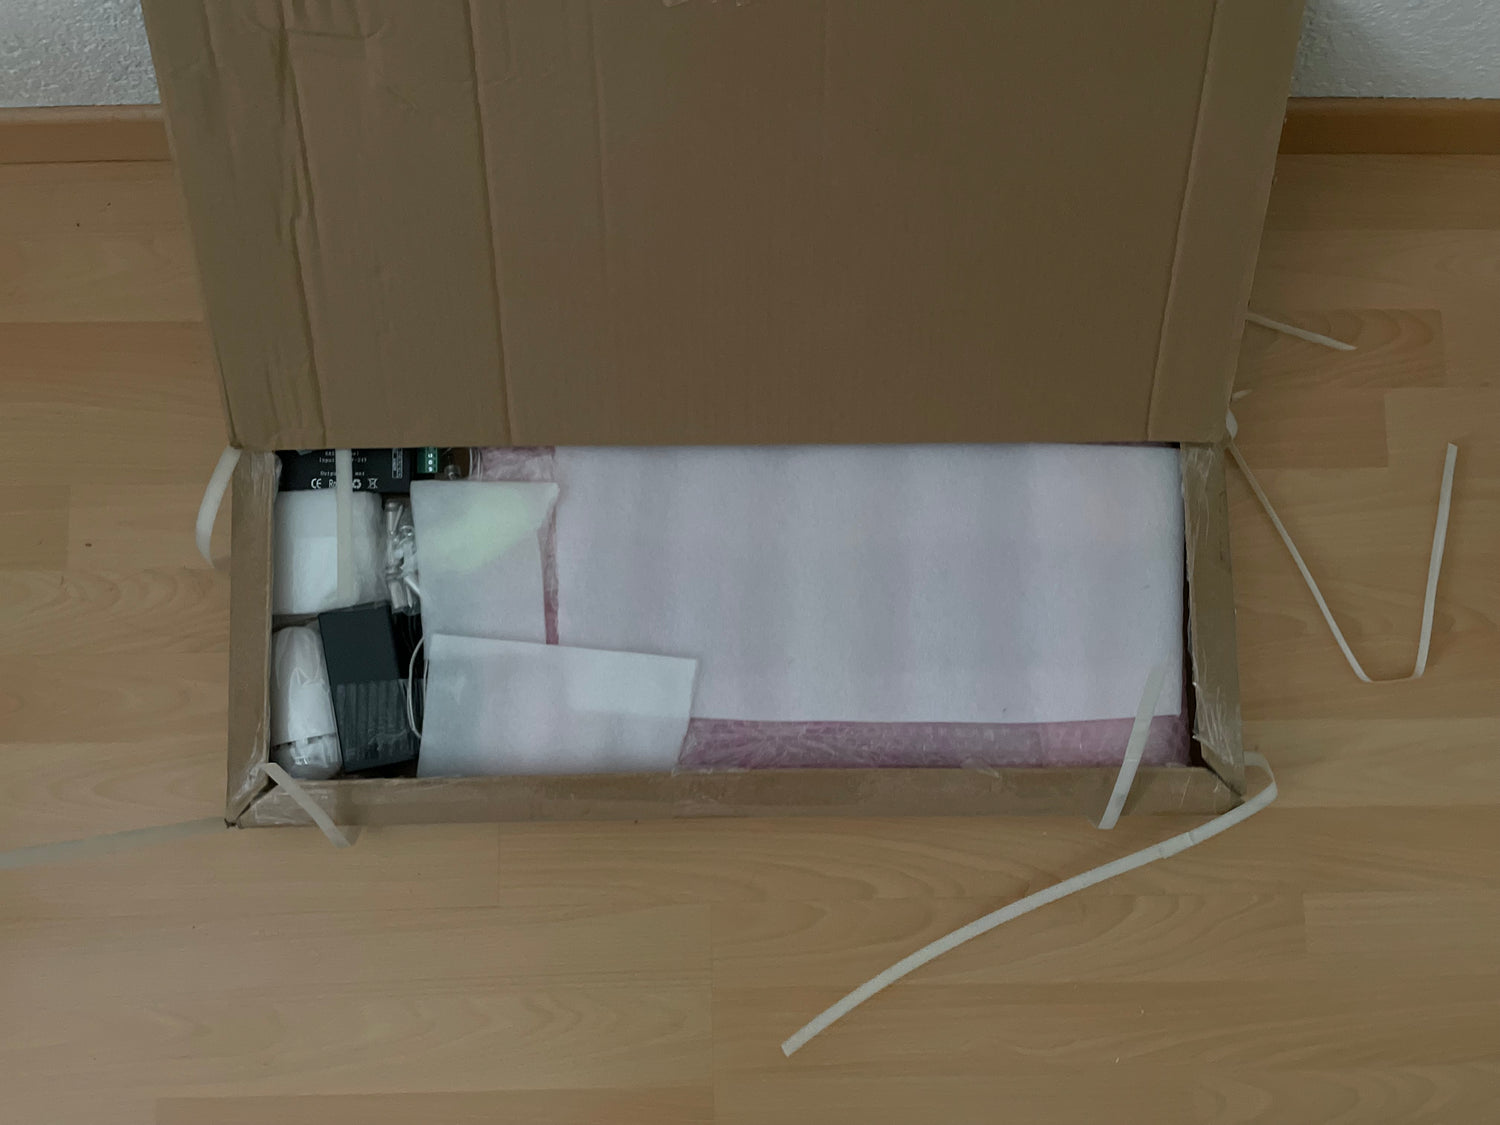
Please open the package with the utmost care and ideally have a surface ready to place the contents on.

step 3
Sort everything carefully and make sure that all items are present.
Step 4
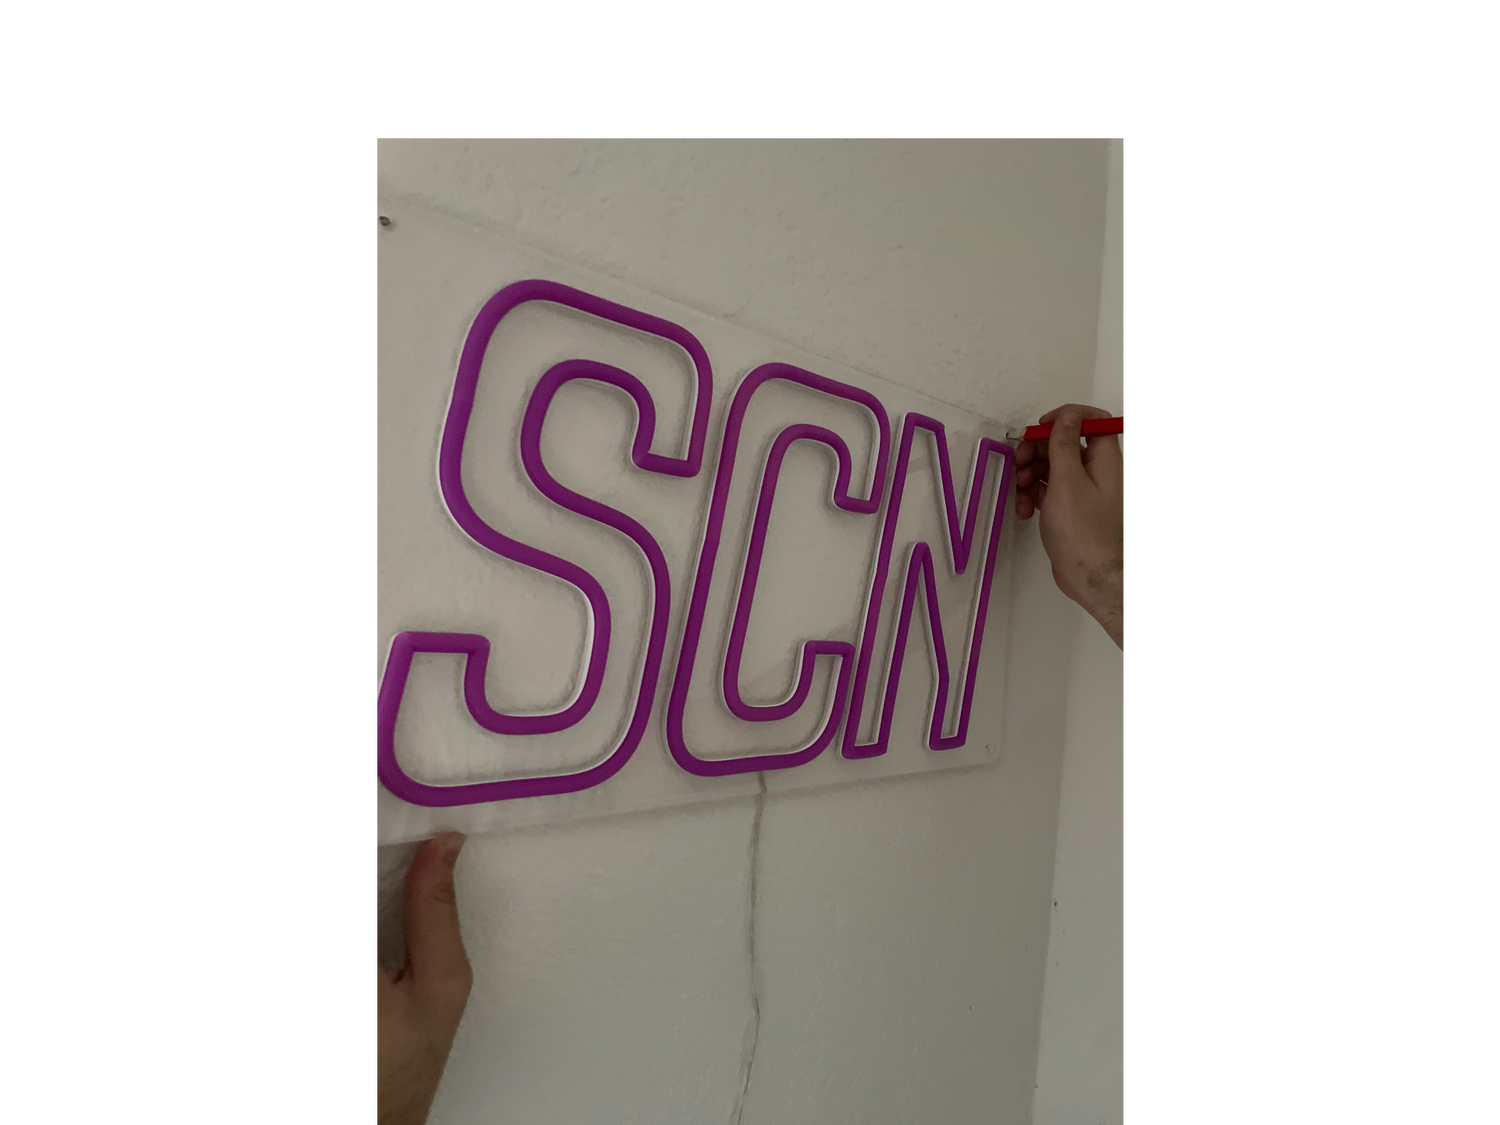
If you have purchased a larger neon sign, I recommend asking a friend to help you mark the drill holes on the desired wall.
Step 5
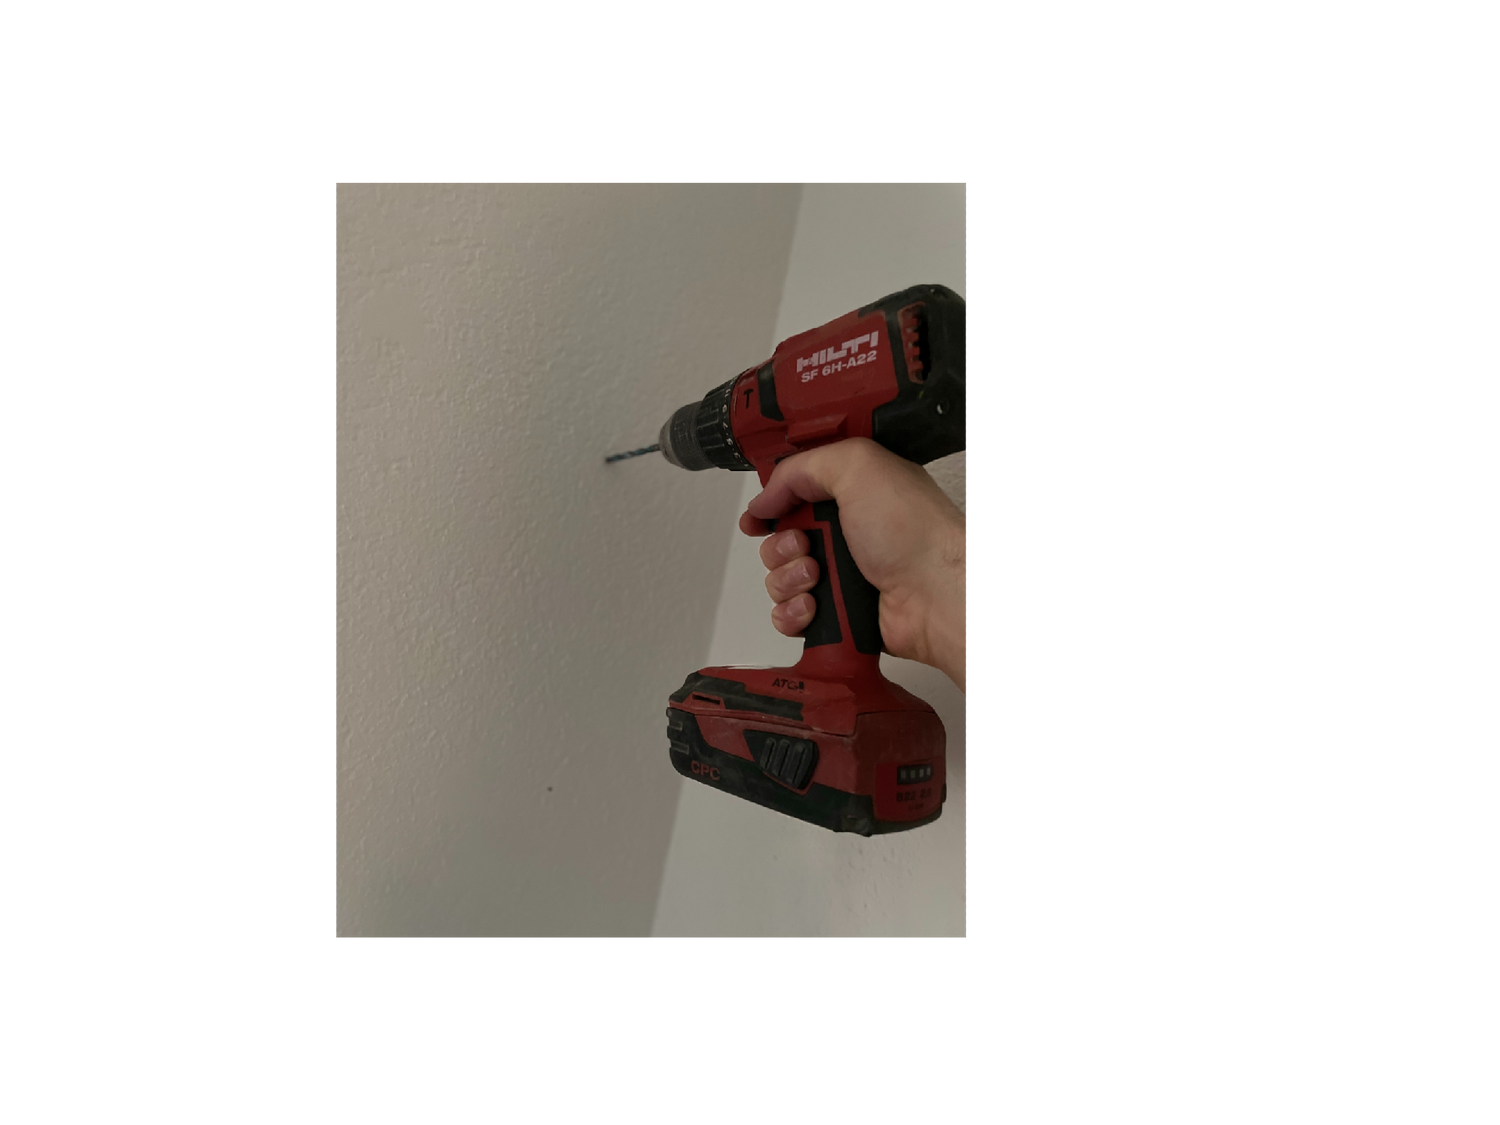
Use a drill with a 6mm drill bit to drill holes at the marked points. Make sure the holes are deep enough for the screws.
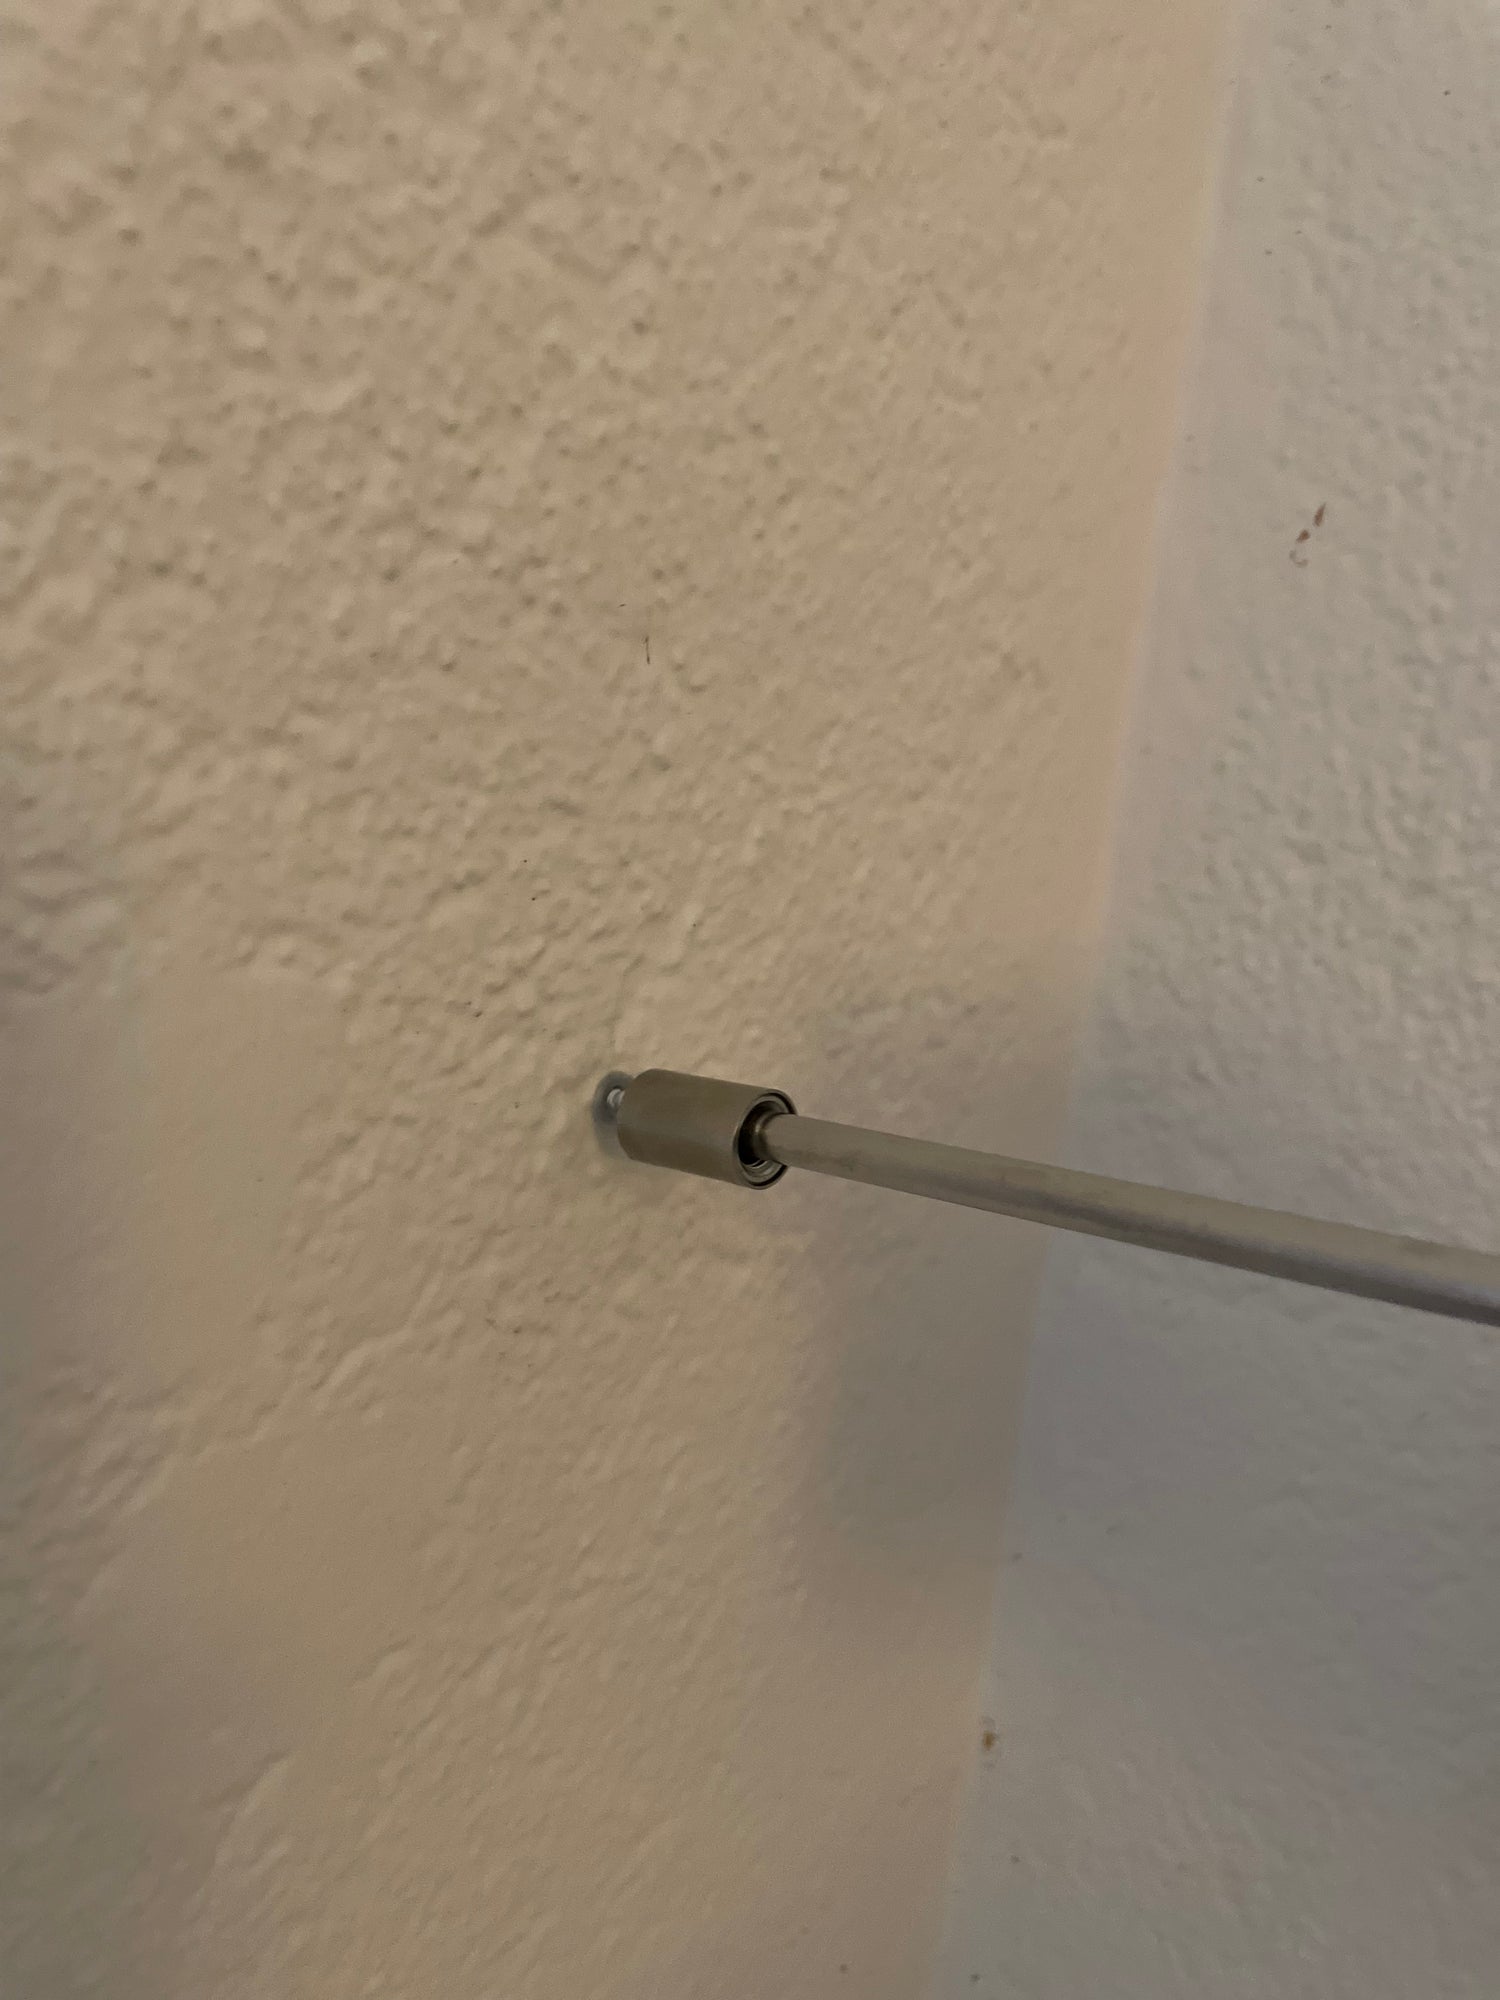
Step 6
Carefully insert the supplied anchors into the drilled holes and attach the hanging buttons by unscrewing the "head" parts. Use a Phillips screwdriver to tighten the screws through the sleeves.
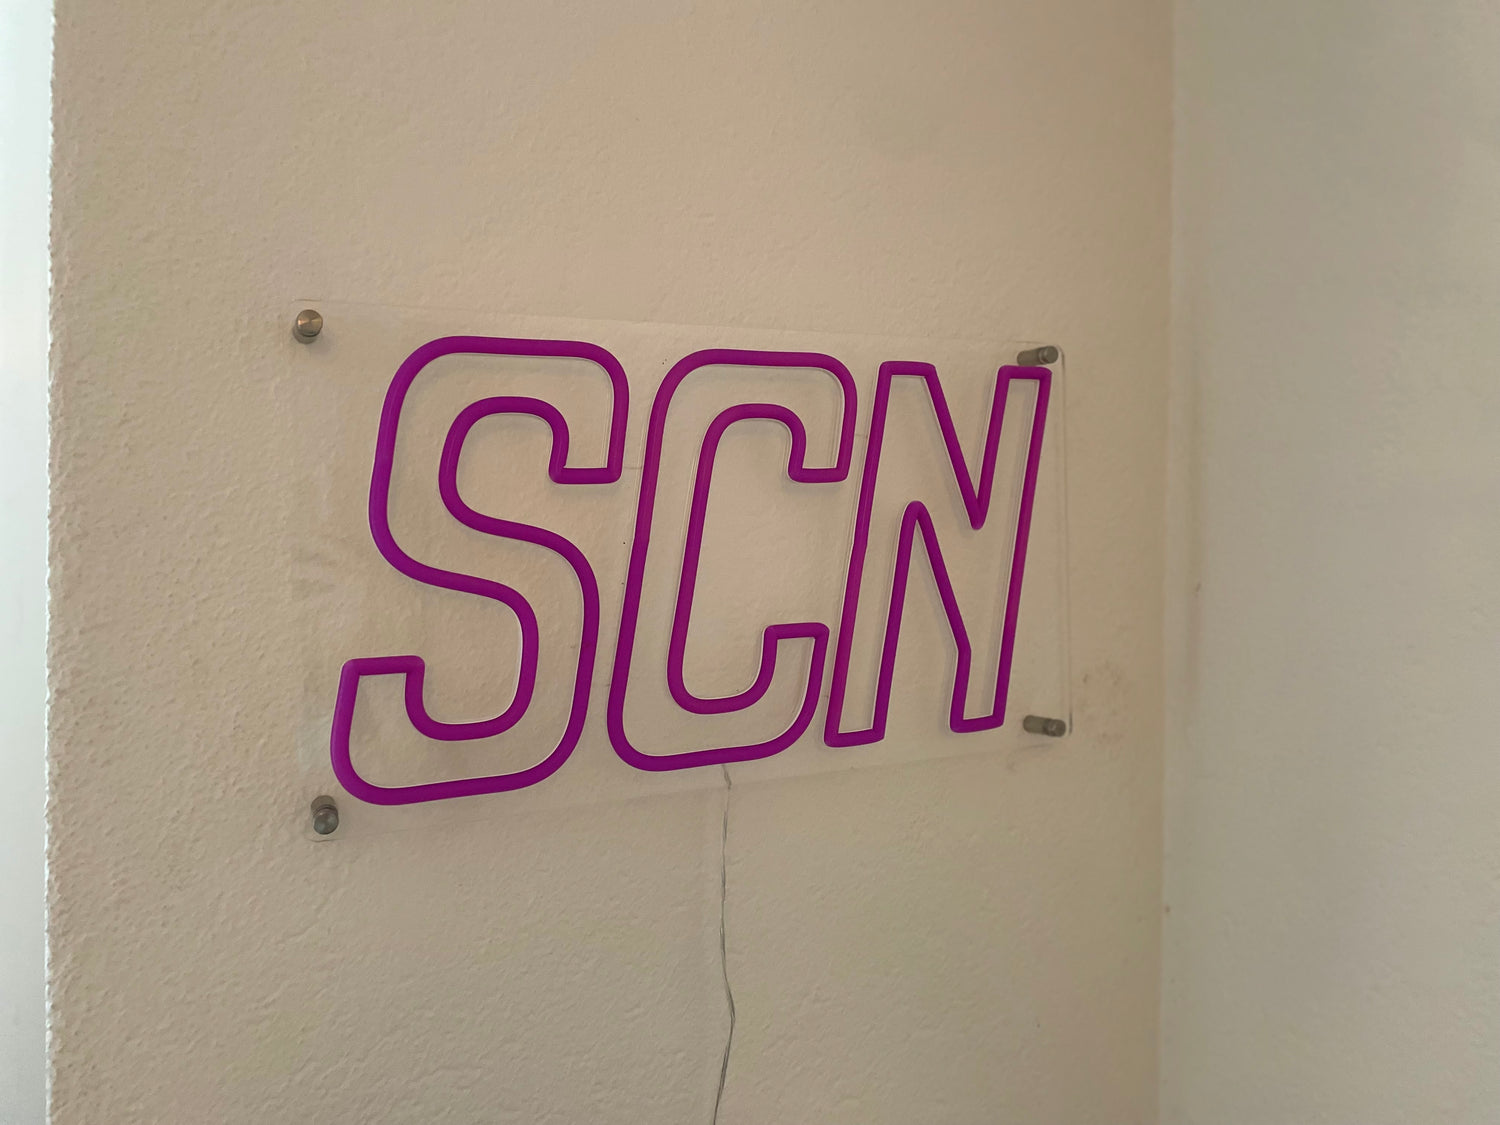
Step 7
Please tighten all screws and mount the sign. Make sure that the round plastic disc is behind the neon sign and once in front of it.
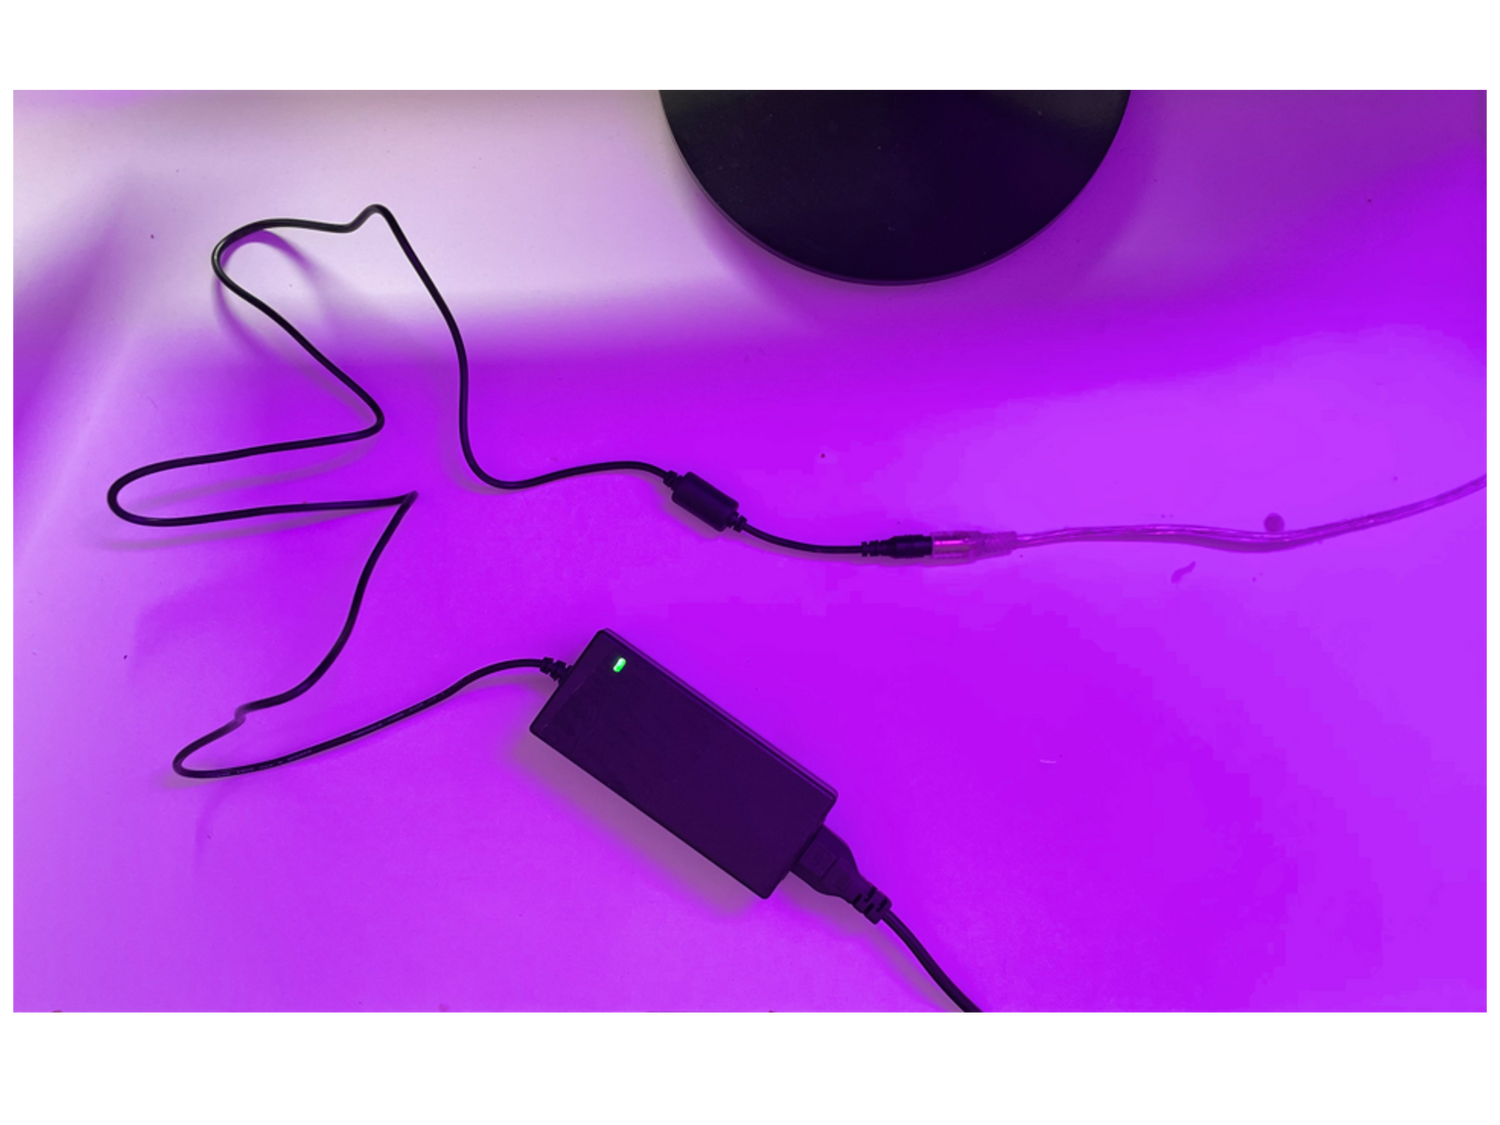
Step 8
Please wire the sign exactly as shown in the picture. If you ordered an RGB or dimmer controller, place it exactly between the transparent cable and the power cable.
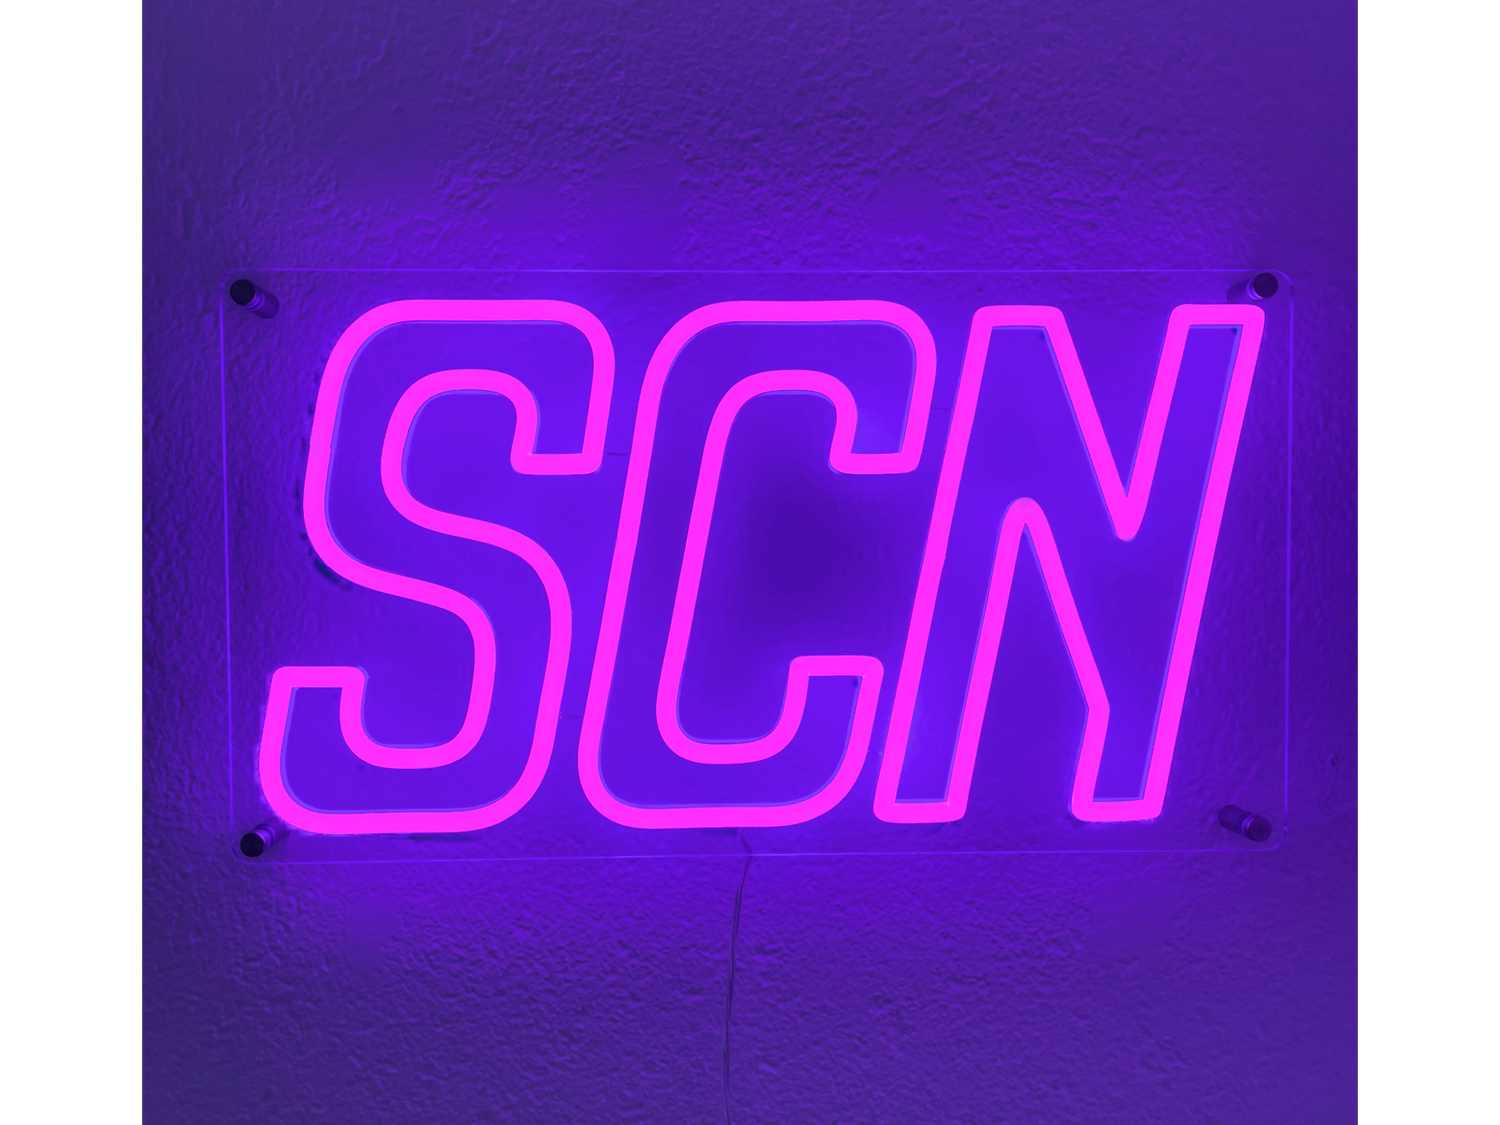
COMPLETE
You did it! Your neon sign is now ready for use and you can enjoy it every day.
Share your neon sign on Instagram and tag us!